낭만 프로그래머
Ubuntu 22.04 에 OCS Inventory Server 설치 본문
1. 필수 패키지 설치
1-0. 방화벽 끄기 및 apt 업그레이드/업데이트 및 기본 모듈 설치
ufw disable

apt update
apt upgrade

apt install -y make cmake gcc make git curl unzip
1-1. Apache2 설치
apt install apache2
systemctl enable apache2
systemctl start apache2
1-2. MariaDB 설치
apt install mariadb-server
apt install mariadb-client
systemctl enable mariadb
systemctl start mariadb
1-3. MariaDB 설정
mysqlCREATE DATABASE ocsweb;
CREATE USER 'ocs'@'localhost' IDENTIFIED BY 'ocs';
GRANT ALL ON ocsweb.* TO 'ocs'@'localhost' WITH GRANT OPTION;
FLUSH PRIVILEGES;
EXIT;
1-4. 필요 모듈 설치
apt install perl php-pclzip make build-essential libdbd-mysql-perl libnet-ip-perl libxml-simple-perl php php-mbstring php-soap php-mysql php-curl php-xml php-zip libcompress-zlib-perl libdbi-perl libsoap-lite-perl libio-compress-perl libapache-dbi-perl libapache2-mod-perl2 libapache2-mod-perl2-dev
perl -MCPAN -e 'install Apache2::SOAP'
perl -MCPAN -e 'install XML::Entities'
perl -MCPAN -e 'install Net::IP'
perl -MCPAN -e 'install Apache::DBI'
perl -MCPAN -e 'install Mojolicious'
perl -MCPAN -e 'install Switch'
perl -MCPAN -e 'install Plack::Handler'
1-5. PHP 설치
apt install php-pclzip make build-essential libdbd-mysql-perl libnet-ip-perl libxml-simple-perl php php-mbstring php-soap php-mysql php-curl php-xml php-zip
apt install php-gd
1-6. php.ini 파일 수정
vim /etc/php/8.1/apache2/php.inimemory_limit = 256M
post_max_size = 100M
upload_max_filesize = 100M
max_execution_time = 360
date.timezone = Asia/Seoulsystemctl restart apache2
2. OCS Inventory Server 설치
2-1. 다운로드
- ocsinventory-ng.org 접속

2.2. 압축 해제 및 실행
tar –xvzf OCSNG_UNIX_SERVER-2.11.1.tar.gz
cd OCSNG_UNIX_SERVER-2.11.1
2.3. setup.sh 파일 수정
vim setup.shDB_SERVER_PWD=ocs
2.4. 설치
./setup.sh- y 와 enter를 눌러 나간다.
- 도중에 아래 내용으로 한번 에러가 발생할 것임 그래도 그냥 continue 함
CAUTION: Setup now install files in accordance with Filesystem Hierarchy
Standard. So, no file is installed under Apache root document directory
(Refer to Apache configuration files to locate it).
If you're upgrading from OCS Inventory NG Server 1.01 and previous, YOU
MUST REMOVE (or move) directories 'ocsreports' and 'download' from Apache
root document directory.
If you choose to move directory, YOU MUST MOVE 'download' directory to
Administration Server writable/cache directory (by default
/var/lib/ocsinventory-reports), especially if you use deployment feature.
2.5 접속 설정
ln -s /etc/apache2/conf-available/ocsinventory-reports.conf /etc/apache2/conf-enabled/ocsinventory-reports.conf
ln -s /etc/apache2/conf-available/z-ocsinventory-server.conf /etc/apache2/conf-enabled/z-ocsinventory-server.conf
ln -s /etc/apache2/conf-available/zz-ocsinventory-restapi.conf /etc/apache2/conf-enabled/zz-ocsinventory-restapi.conf

chown -R www-data:www-data /var/lib/ocsinventory-reports
systemctl restart apache2
2.6. DB 접속 정보 입력
- http://IP/ocsreports/install.php 로 웹브라우저로 접속 후 정보 입력

2.7. DB 업데이트 관련 에러 발생시
- http://IP/ocsreports/index.php 로 웹브라우저로 접속하면 아래와 같이 에러가 발생 시에는 Perform the update를 누른다.

2.8. 접속
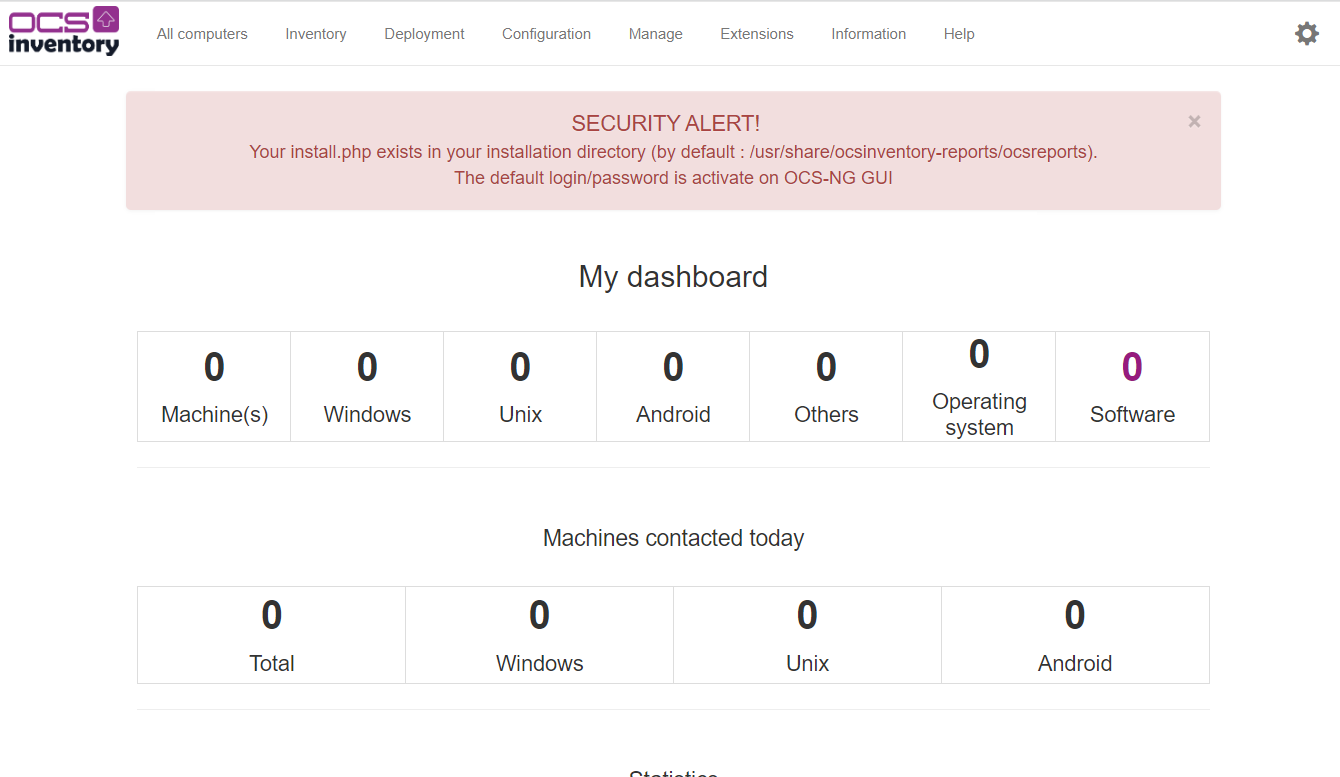
- http://IP/ocsreports/index.php 로 접속 (초기 ID : admin, 초기 패스워드 admin)


'ETC' 카테고리의 다른 글
| OCS Inventory 에서 리스트를 CSV로 다운로드시 한글 깨짐 문제 해결 (0) | 2023.01.18 |
|---|---|
| OCS Inventory Windows-Packager를 이용하여 설치 Agent 생성 (0) | 2023.01.18 |
| 티스토리 코드블럭에서 코드복사시 한줄로 나오는 문제 해결 (0) | 2021.10.28 |
| DNS 레코드 종류인 A / CNAME / MX / TXT 차이점 (0) | 2020.04.23 |
| 문자열(String) 과 유니코드(Unicode)로 변환 하는 온라인 사이트 (0) | 2020.02.19 |


